
DIY – Leaf Mould
Timing: Autumn
Difficulty: Easy
Benefits of Leaf Mould
Don’t throw away those fallen leaves—they can be turned into valuable, free organic matter for your garden. Leaf mould is made from decaying leaves and works brilliantly as a soil conditioner and mulch. It’s also an easy way to recycle garden waste and return nutrients to the soil.
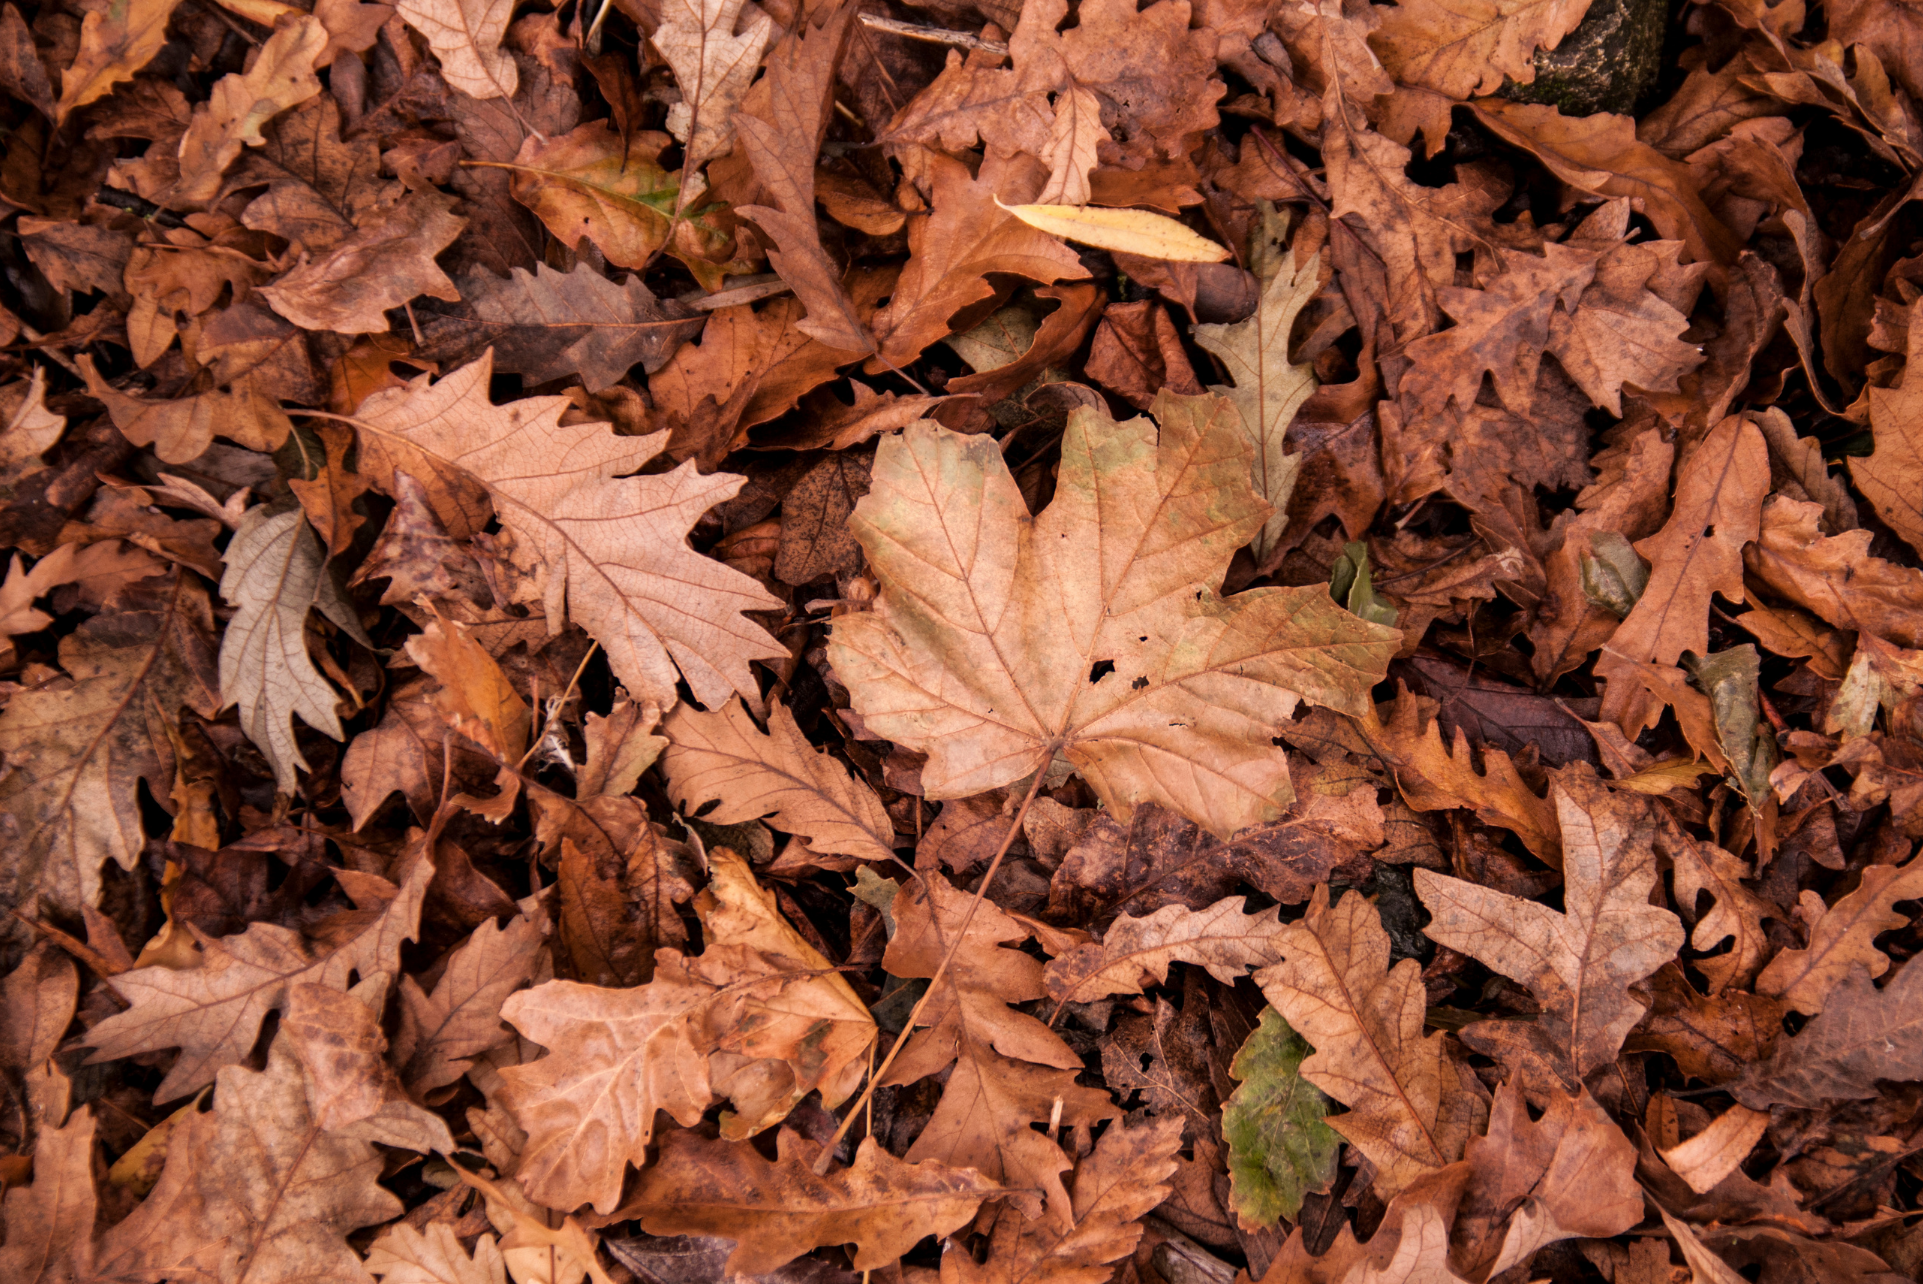
Which leaves are best?
Oak, beech and hornbeam leaves are ideal for making leaf mould because they break down relatively quickly and produce a high-quality end product. Thicker leaves, such as sycamore, walnut, horse chestnut and sweet chestnut, take much longer to decompose. Shred these before adding them to your leaf mould pile, or add them to the compost heap instead. Most leaves will eventually break down, but some need a little more help. Evergreen leaves such as holly, Aucuba and cherry laurel are best shredded and composted, where they’ll break down more quickly.
What about conifer needles?
Conifer needles will eventually decompose, but they can take two to three years. Conifer hedge clippings are generally better suited to the compost heap. Pine needles are a useful exception. Collect them separately to create an acidic leaf mould, which makes an excellent mulch for acid-loving plants such as rhododendrons, azaleas, camellias, Pieris and blueberries.
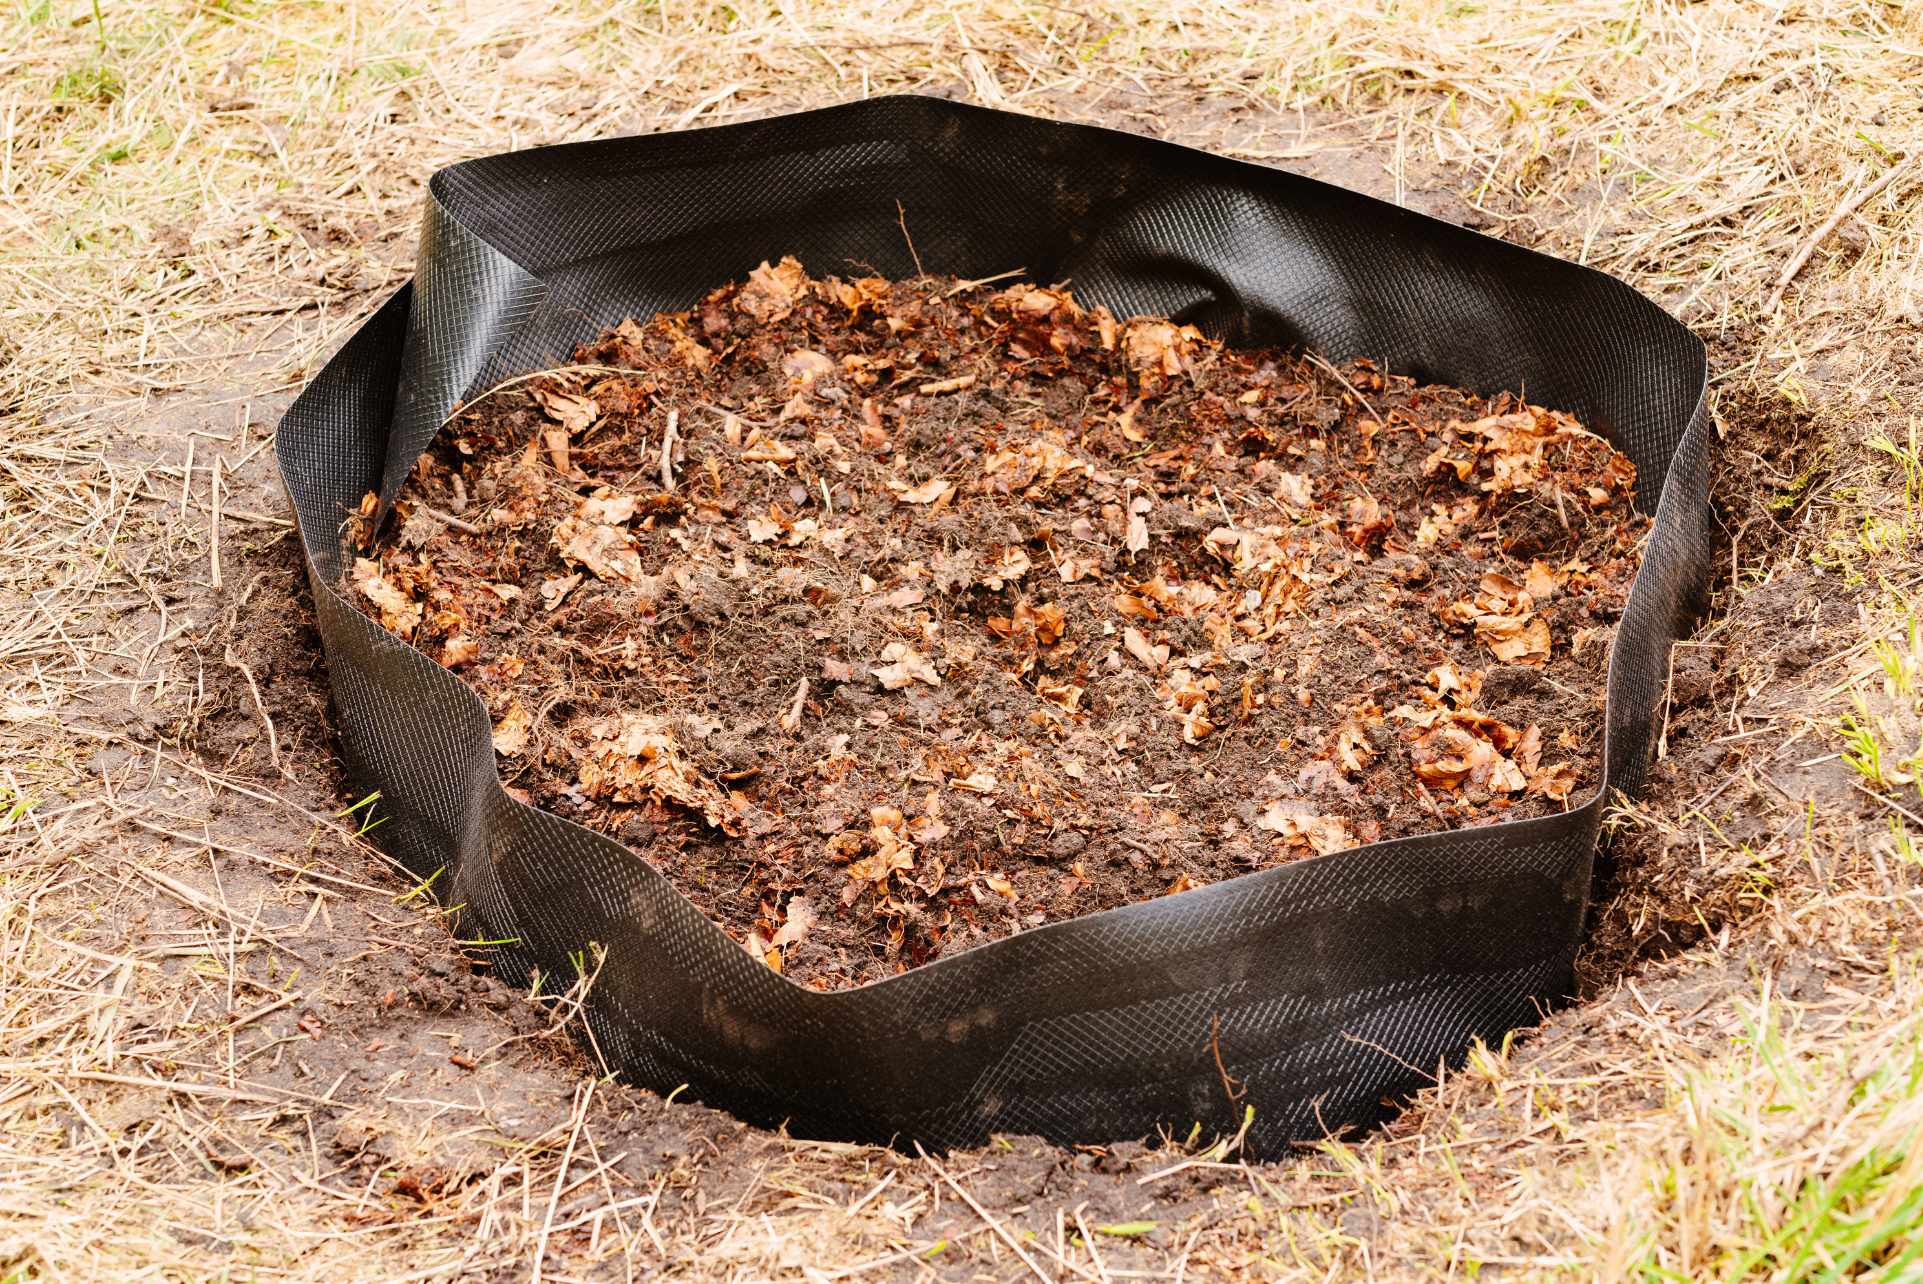
How to: There are 2 methods to creating leaf mould
1 – Collect suitable leaves and place them in bin liners, moisten them if they are dry, pierce holes in the bag and tie the top loosely. These can then be stacked out of sight and will be useable after around 2 years.
2 – Using chicken wire with suitable supports, build a frame in a sheltered area (so leaves do not blow away), the larger the better as this will hasten the decay. Moisten periodically if the pile becomes dry and wait up to 2 years for your leaf mould to be suitable for use.